Repointing | brick restoration in Deeside
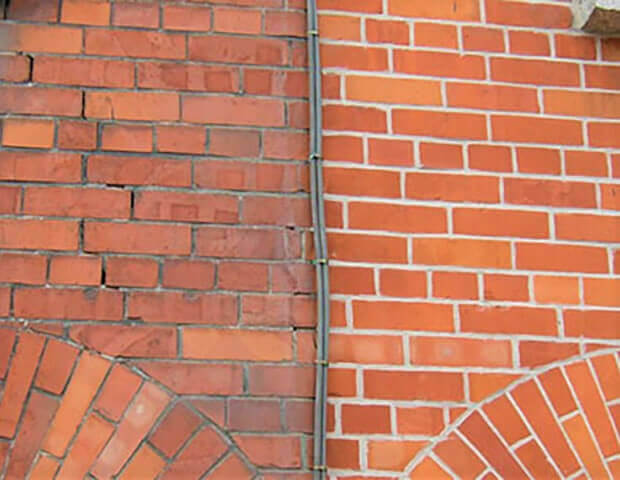
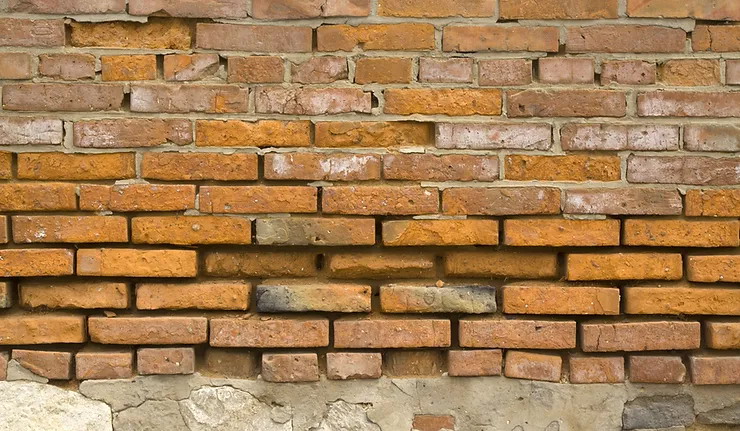
Repointing is the process of renewing the pointing, which is the external part of mortar joints, in masonry construction. Repointing brick is an essential job if you want your home to weather the elements and still look good. Over time, weathering, and decay cause voids in the joints between masonry units, usually in bricks, allowing the undesirable entrance of water. Water entering through these voids can cause considerable damage through frost weathering and from salt dissolution.
Repointing brickwork should be high on the priority list. The correct repointing can assist in waterproofing and stabilizing the walls of the structure, extend the life of the wall and individual stones and enhance the visual qualities of natural stone walls.


Brick Repair Deeside hire and surrounding areas
Even the most durable and hardwearing bricks eventually need repairing or replacing. When the time comes, proudly covering all types of brick repairs and replacements for modern and period homes across
Brick repairs Deeside in can often be as simple as removing decayed and damaged parts of the affected bricks, before restoring their original shape and protective properties with appropriate compounds.
What is the Process?
1. Examination/Consultation
Before starting any work, a proper examination of the structure must be conducted to assess the extent of repointing that needs to be completed as well as the damages that might have resulted from the eroded mortar.
2. Obtain Materials
It is always a good idea to try to match the new materials as closely as possible with the old ones. You don’t want the repaired area to stick out in any way and cause any aesthetic dissonance on the exterior of your home.
It’s also important that the mortar you use has similar characteristics to the original mortar used. This way the old and new joints share the same give. If you use stronger mortar for one section that section might not give into structural stresses that the other section will, resulting in cracks.
3. Remove Old Mortar
Next the mason starts the process of removing the old mortar from the joints. After removal it is important to clean the joints before filling them with new mortar.
4. Apply New Mortar
First the mason will fill the areas with the deepest recessions, and then they will continue to apply the mortar in several layers. The mortar should be manipulated using the proper tools to imitate your desired style.
